Blog / 2023 / Painting the Nose and Ears in a Portrait
July 25, 2023
This is Part 2 of a series of blog posts explaining portrait painting in some detail, and, in Part 1, I was going on at some length about the brow ridge—also known as the bone that forms the top of a person’s eye sockets. Today, I want to talk about the nose and ears, because these features can act in much the same way as that immovable line of bone: they can help you anchor a portrait.
In part this is because, though they’ve got a good deal of cartilage and flesh in them, these features don’t usually move too much. That means that, if you manage to position them properly and get the spacing between them right, you’ll be well on your way to a likeness.
Of course, noses tend to be more important than ears, by virtue of how central they are to most portraits. The main pitfall for noses is that you’ll make it look like your own. Seriously, the struggle is ongoing for me and, it appears, for most professional portraitists as well. It helps to really dissect how the subject’s nose is different from yours and keep reminding yourself of the differences as you work on the portrait.
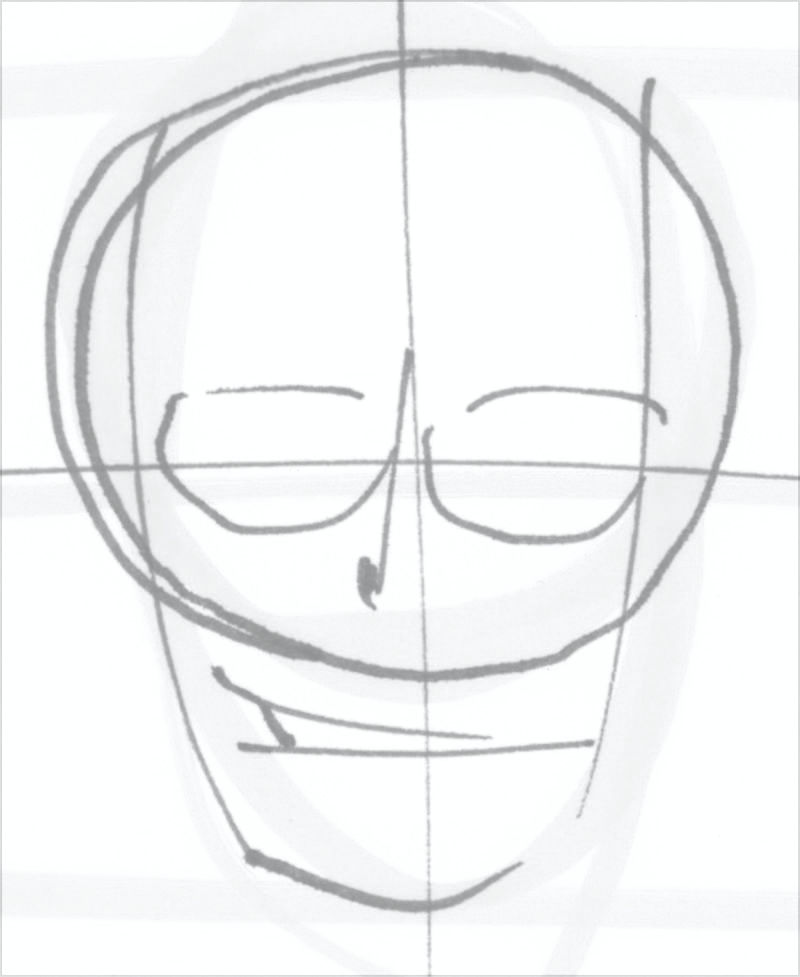
To be clear, the advice that I’m giving you about starting with the brow and then moving on to the nose and ears is a bit unconventional. Most how-tos for making a portrait will encourage you to find the shape of the face at the beginning of the portrait process by making a drawing like the one above.
The big circle approximates the brain case area of the skull, and the overlapping oval sketches in the jaw. The horizontal line is the midpoint between the top of the circle and the bottom of the oval, and it goes through the middle of the eye sockets. This circle-and-oval method is totally fine, of course, and I find it useful sometimes, but, generally, I avoid it.
Instead, after placing the brow ridge line and sketching in the nose and ears, I look carefully at the chin and the height of the forehead, since these are what give a face its overall shape. My recommendation is the same as with the nose. Before you start on the portrait, really look at your subject’s face shape. Describe it with words like “round” or “long” or “square.”
Or, if words don’t help you when you’re in an image-making frame of mind, look at distances between features and angles or curves of lines. Portraits tend to fail when people work on just one feature to perfect it and then try to move on to the rest. In fact, this way of working only succeeds if you’re the kind of artist who makes (or traces) a detailed image and then treats it like a coloring book page, filling in the right hues until the portrait done.
If, instead, you are searching for a likeness, you must stay loose. In this process GIF of Vince’s portrait, you can see that I don’t get hung up on any one feature. In between every new process photo, there are changes all around the composition.
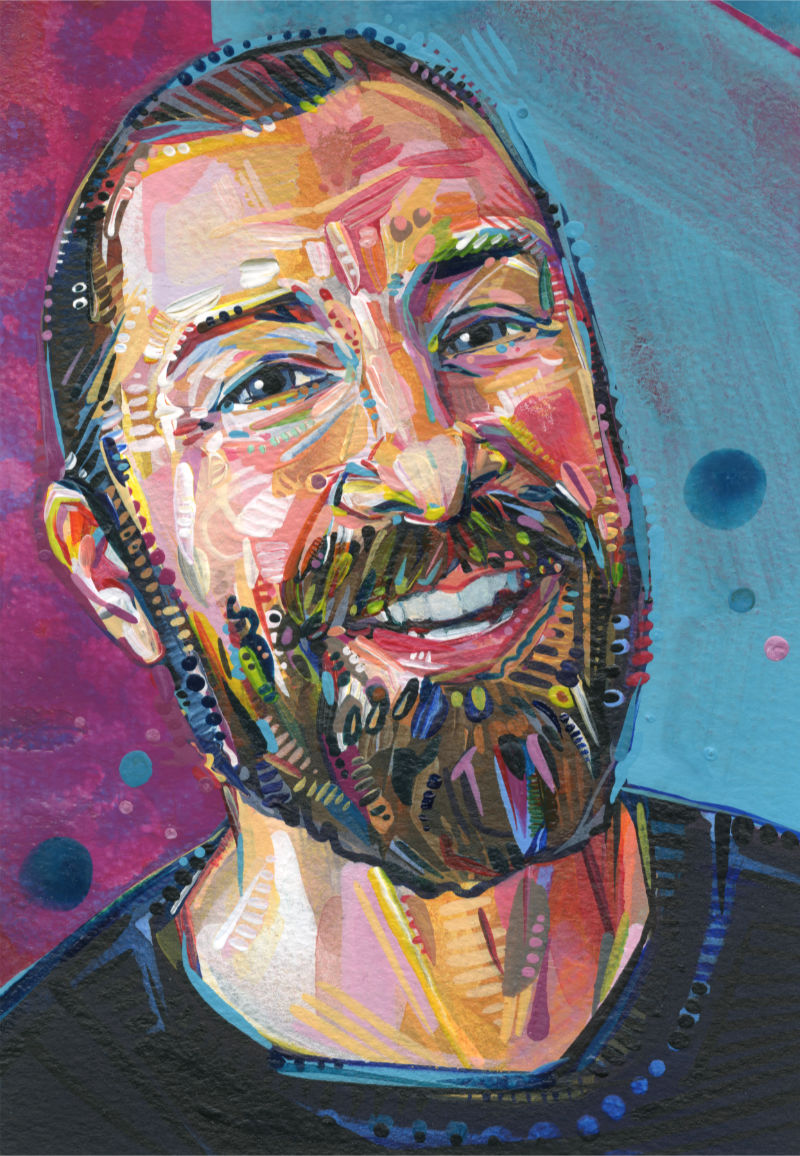
Vince
2022
acrylic on paper
7 x 5 inches
Vince is part of Friend Request, a series of paintings of people I met after leaving social media. For more about how to hire me to paint you a portrait, check out this page.
UPDATE
August 12, 2023
These are the rest of the articles in the portrait series: where to start and painting the eyes, mouth, teeth, skin, signifiers, and breath and movement.
Maybe this post made you think of something you want to tell me? Or perhaps you have a question about my art? I’d love to hear from you!
To receive an email every time I publish a new article or video, sign up for my special mailing list.
If you enjoyed this post, Ko-fi allows you to donate. Every dollar you give is worth a bajillion to me!